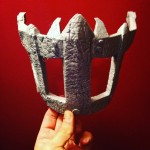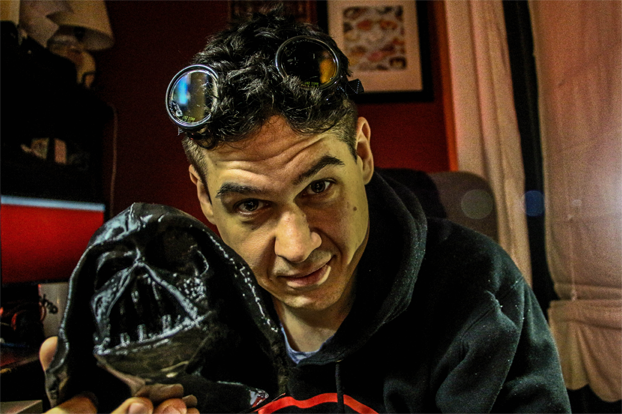
How did I model and 3D print Darth Vaders melted mask from The Force Awakens?
I first downloaded a low resolution model from Thingiverse by ForgetfulJones. Here is the link:
http://www.thingiverse.com/thing:340477
Now that the model is downloaded what do I do to give it a good melting? Personally, I use Pixologics ZBrush software for 80% of my modeling. Especially for something that’s organic like the Darth Vader mask.
The first thing I did was subdivide the geometry so that it could be smoothed out. Nothing looks worse on a 3d print than the square faceting that occurs from low resolution. I then use the standard, move, flatten and polish brushes to get the look I desire. I also clipped out the geometry under the neck so I could just 3d print the head. For a quick run through of what I mean please watch the video below.
Once modeled I exported the model as an STL file and imported it into Cura for slicing. Once set up I printed it on my Ultimaker 2. This particular print took 32 hours but the time all depends on the prints resolution, size and infill.
If you want to print your own Vader mask please Download my STL file here:
http://8shmanlz.megaph.com/